Congratulations on purchasing the world’s smartest, lightest, most energy efficient, digital display.
Hanging your Videri Digital Canvas is as simple to install as hanging a painting. This guide will help you complete the 3 simple steps to start using your Canvas.
1. Mounting your Videri Canvas.
You’ll need a pencil, a power drill with a number 2 Philips bit, and a level.
Place the mounting template on the wall, mark the holes, drill the holes and install the mount.
Slide the Canvas onto the mount. For the V4 Canvas, hang in either landscape or portrait mode based on the content you wish to display.
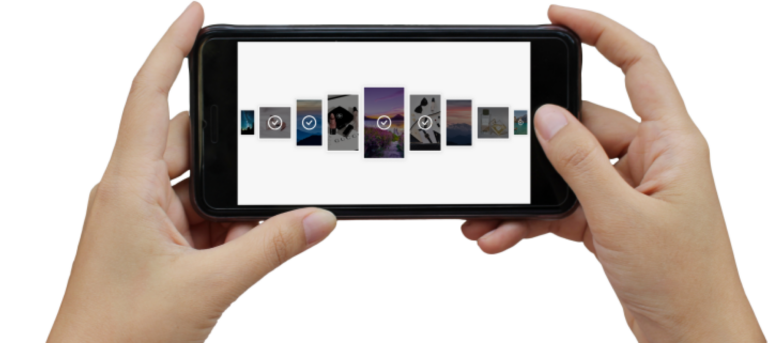
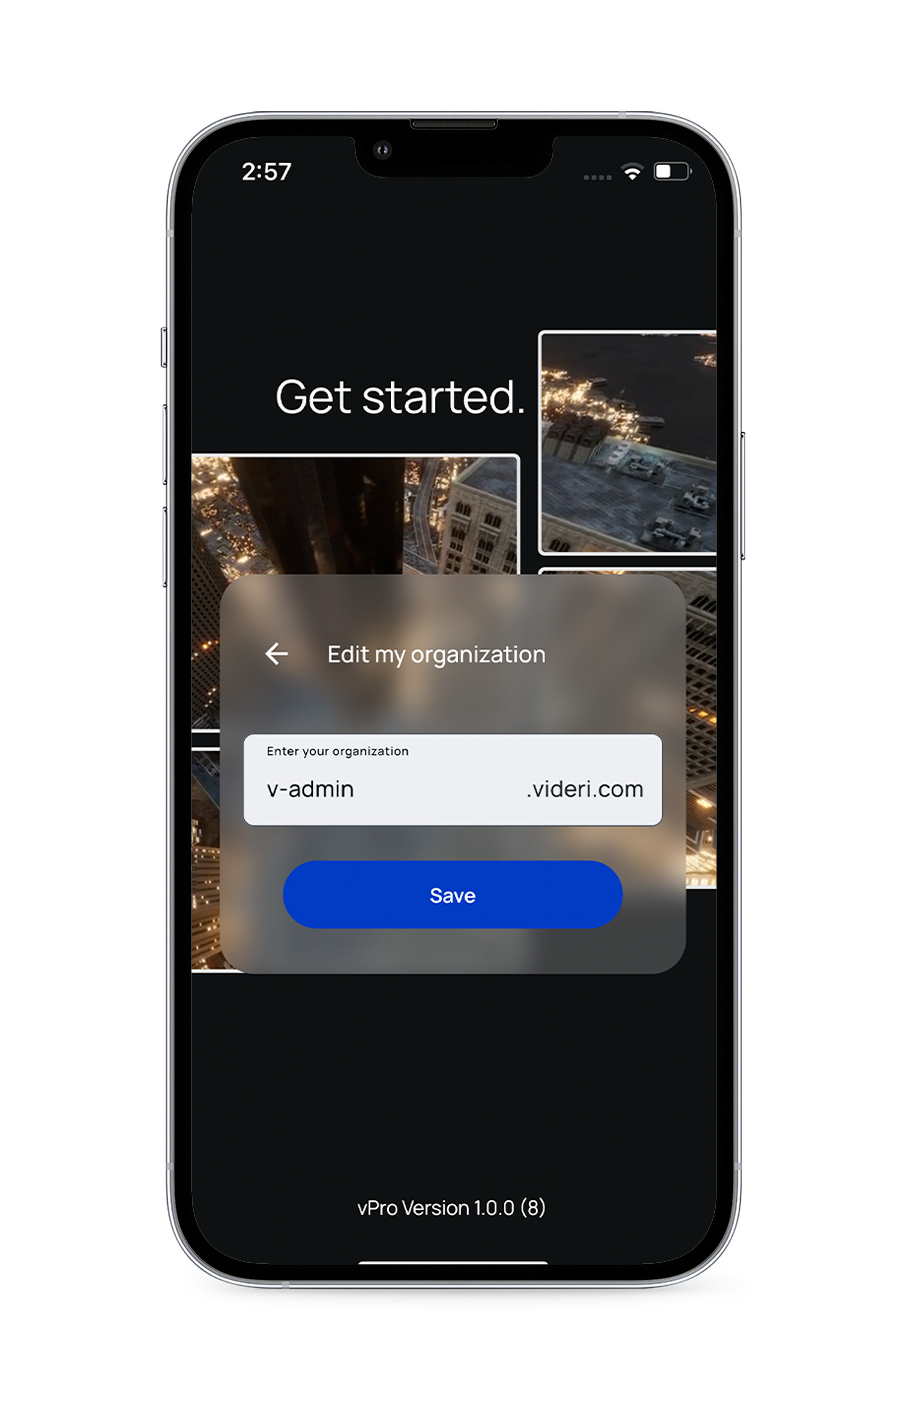
First, you’ll use your smartphone’s Bluetooth connection to identify and name your Canvas as well as connect it to your local WiFi network.
Download and set up the Videri Classic app from the iOS App Store (for iPhone) or the Google Play Store (for Android). Use the username and temporary password from the Welcome Email you received from Videri.
Set up your Canvas, enable Bluetooth and connect it to WiFi. Give your Canvas a name and add other Canvases if you have more than one.
Download the Videri Content & Connectivity Best Practices Guide for Content here:
Videri Classic App Canvas set up video tutorials can be viewed here:
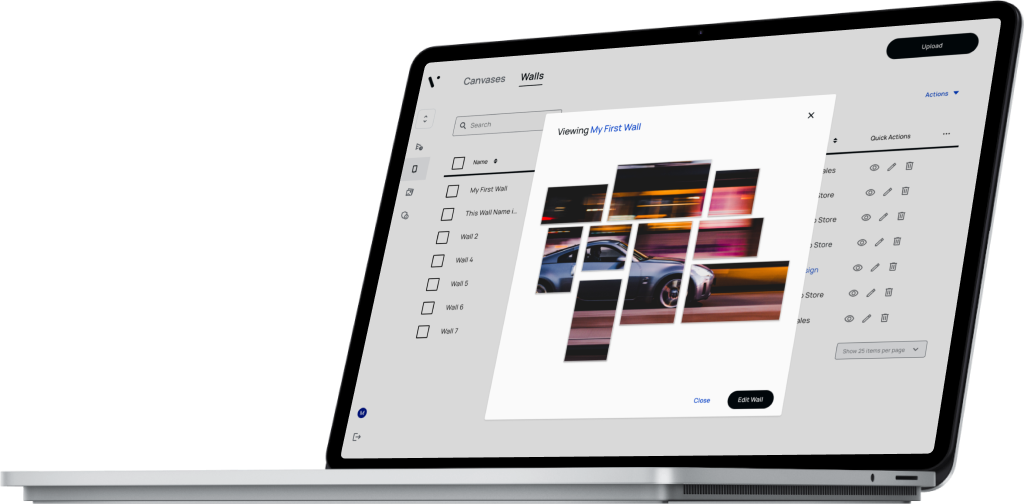
3. Uploading and Displaying Content.
Uploading, displaying and scheduling content is a snap through our web app. Please note that we recommend accessing it through your desktop browser as it is not currently optimized for mobile devices.
From your desktop browser, go to promote.videri.com and enter the username and password from the Welcome Email you received from Videri.
First, upload images or video to make them available to your Canvas. Choose the content you want to appear on your Canvas. Select start and end days when you want your content to display. Click save to display content on your Canvas. Change the content as often as you want, when you want.
For step-by-step instructions download the User Guide below: